Why Is My Jeep Radio Cutting In and Out? 6 Easy Steps To Fix It
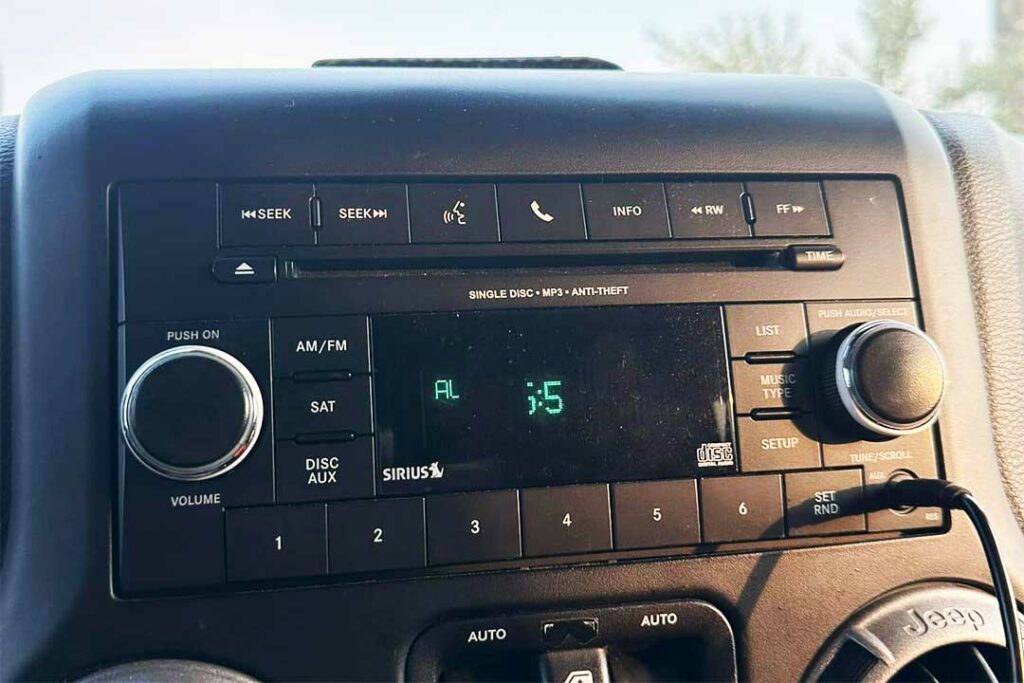
Listening to your radio while driving is an integral aspect of your driving experience. It becomes annoying when your Jeep’s radio starts to cut in and out suddenly. A faulty head unit or corroded/loose AM/FM chip pins in the radio cause the Jeep radio to cut in and out.
If your Jeep radio constantly cuts in and out, then you need to fix it. You need to replace or repair the malfunctioning head unit or repair the AM/FM chip on your radio unit to fix it.
I’ll explain the problems and give detailed instructions about how you can fix the AM/FM chip on your Jeep radio. Let’s start.
Table of Contents
Why Is Your Jeep Radio Cutting In and Out?
Faulty Head Unit
If your Jeep radio is cutting in and out, the first potential cause can be a faulty head unit. This unit can experience issues that disrupt the operation of your radio.
First, ensure that the head unit is receiving power. Examine the fuse and wiring. Replace the fuse or address wiring issues to restore proper power.
A stable ground connection is needed for the head unit. A loose or corroded ground can cause the head unit to turn off randomly. Verify that it is secure and free of corrosion.
The head unit may have a separate fuse dedicated to its operation. Inspect the fuse to determine if it’s blown.
If it blows, the power supply to the head unit is disrupted. Replace the blown fuse to resolve issues with the head unit.
Corroded/Loose Am/FM Chip Pins
There is a universal issue with Chrysler vehicles. Its radio unit has an AM/FM chip whose pins come loose after some time.
Sometimes, they get corroded. When that happens, the radio starts to show intermittent issues.
The power button doesn’t work sometimes, the volume button doesn’t work occasionally, you can’t change channels, the aux cable doesn’t work, and mostly the radio cuts in and out.
How Do You Stop Your Jeep Radio From Cutting in and Out?
Now that you know what causes a radio to cut in and out, how can you stop it?
The solution is that you need to fix that AM/FM chip. You need to re-solder the pins. So, the connection with the chip works perfectly.
To get to the AM/FM chip and fix it, follow the instructions below:
Tools That You Need
You need some tools. You can buy them; they are not too expensive.
- 7 mm or 9/30” socket for stereo mounting screws
- 2 mm hex head for CD player removal
- 858D hot air soldering rework station for chip-pin heat up
- One chopstick to press down on the chip
1. Remove the Car Panel Around the Stereo
At first, disconnect any cables or anything plugged into your stereo.
You need to remove the whole plastic panel around the radio. It’s one big piece that you need to take off. Then you can remove the radio.
Begin with the air vents. You need to be careful while removing them. Follow my steps exactly.
Notice that the Jeep logo is always on top of them. Turn the inside vents and feel inside under the Jeep logo with your fingers. You’ll notice a little square hole. If you don’t feel it, turn around the vents inside until you get the square hole.
Get a long and thin stick up in there and pry that down a bit with as little pressure as possible so as not to break anything. This will loosen up the wedge.
Now, you can twist the whole thing to your left. After a bit of twisting, you can pull the whole vent off. This way, remove all three air vents.
Now remove the front plate. Use any pry/opening tool to do it more easily. Take care to avoid causing any damage.
Carefully examine and disconnect connectors if there are any. Usually, there’s a release piece that you can push and then pull to remove the connector.
If there are any 7 mm screws, unscrew them before you take off the front plate. On the Jeep Wrangler, you’ll find two 7 mm screws.
There is one on the left and one on the right side of the steering wheel. Remove those. You may have another screw under the rubber piece on top of the radio panel.
Now, start to take off the whole plastic panel. Start from the driver-side left corner and work your way to the right side of your radio. Gently pull and pry open to avoid breaking any wedges.
Not all car panels are the same. So, the removal procedure is not the same either. But you should have a general idea.
2. Remove the Radio
Now you need to remove the radio. There are four 7 mm screws bolted to the radio. There are two to the left and two to the right. Unscrew them.
Now, pull on the radio. Apply enough pressure because it will be difficult to pull off. However, keep in mind that the radio has connectors on the back, so proceed with caution.
Once you pull off the radio, disconnect the power, satellite, and stereo connectors. Again, push the clamps and pull them off.
3. Take the Radio Apart
Now you need to disassemble the radio. You should bring the whole unit on top of a table or flat surface and place a cloth or towel underneath to not scratch the surface.
Take the whole front plate off. Loosen up the top and pry from the side of the radio unit. You can also push a flathead inside there to make it easier.
It should pop right off. Now you should see two screws. Using a T-10, get those off.
Now, you need to take off the top plate. You can see there are some metal wedges or locks on the side. Push against them to take off the black top plate. Get a helping hand, as it may be difficult to remove.
The CD player is inside there. Two tiny screws hold it. Use the T-10 to get them off.
Now you can take the whole CD player off. But be careful. Underneath it, there is a connector. Disconnect that cord first. Press down on the clip and yank it out.
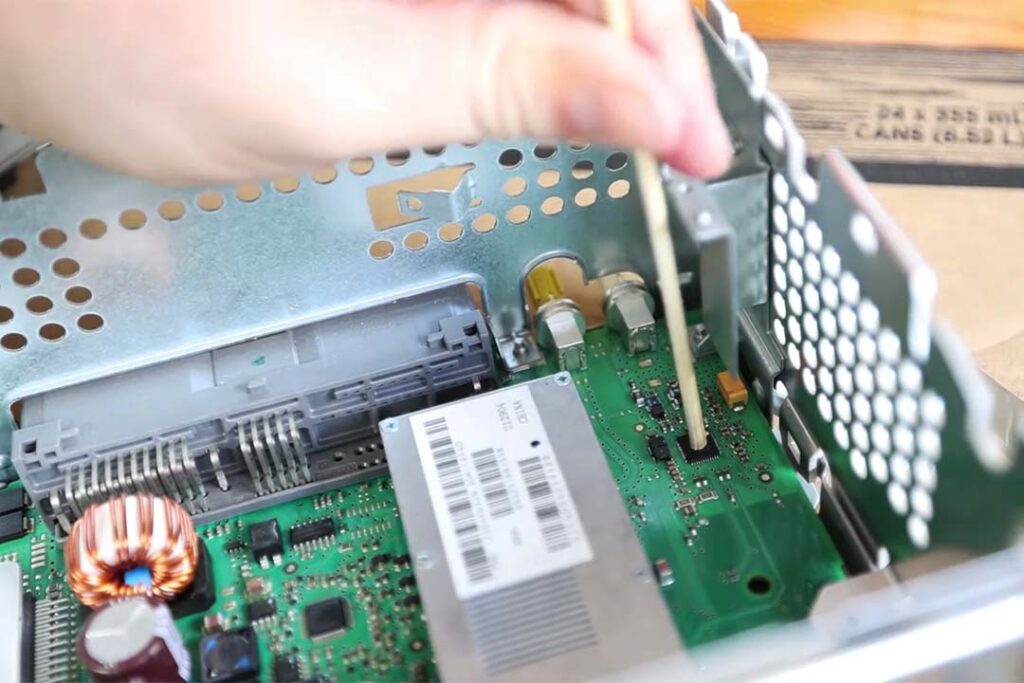
4. Identify the Loose/Corroded Chip.
Now, you can see the loose/corroded AM/FM chip in question. It’s near the antennas.
What happens is that the glue the manufacturer uses comes off, and the chip gets loose.
It can be poorly soldered as well. Sometimes, it gets dirty and corroded.
You need to use some heat and push on the chip to keep it firm in its place. So that there’s no connection issue.
5. Fix the AM/FM Chip
Clean the Chip
Get a Q-tip. Put some isopropyl alcohol on that Q-tip. Then, clean the chip. Clean all four sides and get rid of the dirt and corrosion.
Use a Heat Gun to Heat the Pins
Get a heat gun. It can be a cheap one. You can also use a candle lighter, but it’s risky.
Now, direct the heat gun toward the chip while holding it down using a chopstick. Of course, use heat-resistant gloves just to be safe.
Hold the chopstick in one hand to push down the chip, and with the other hand, pass along the heat gun over the chip. Don’t touch the chip with the heat gun. Cover all four sides. Do it for about 60 seconds and stop. Just until you notice that the chip is getting hot.
The thing is, it is not a permanent solution. Some people experience the same issue after some time.
That means the chip comes loose again after some time, especially if you experience some hot days.
Reinforce With Pressure
Just in case the issues persist and you don’t have to disassemble the radio again, place a cut-in-half pencil between the chip and the metal arm just above it. This provides constant pressure on the chip, addressing potential loosening issues.
Reassembly
To put everything back together, just do everything in reverse order. Push the black plate down, and you’ll hear a clicking sound.
As for the front of the unit, plug it in correctly. You’ll hear it snap in place. Put the radio back in. Tighten all the screws. Put the front panel back on.
Now, test it to ensure everything works. The whole radio should work again. The satellite radio, volume, changing the channels—everything should work again.
6. Optional: Reset the Uconnect System
Sometimes, even after cleaning and resetting the chip, the radio doesn’t work. Then, you need to reset your Uconnect system.
- Turn your Jeep off completely.
- Open your door and close it again.
- Put your key in the ON position.
- Press the voice and phone buttons together simultaneously and hold them for 30 seconds.
- Turn off your car.
- Open your door and close again.
That should do the trick. But unfortunately, if it doesn’t, keep trying and re-heating the process again.
Read More: ABS, ESP, BAS, And Traction Control Lights On? Learn 6 Causes And Their Fixes!
Final Words
In the end, resolving the issue of your Jeep radio cutting in and out requires a methodical approach focused on fixing the AM/FM chip.
Follow the carefully outlined process. You need to disassemble the radio, identify the loose or corroded chip near the antennas, and thoroughly clean it using isopropyl alcohol.
Use a heat gun and apply constant pressure with a cut-in-half pencil to re-solder the chip’s pins and maintain a stable connection.
Test your radio to ensure its proper functionality. In cases where issues persist, try resetting the Uconnect system.
Following these steps, you can enjoy your Jeep radio’s performance, restore uninterrupted music, and ensure an enjoyable driving experience.